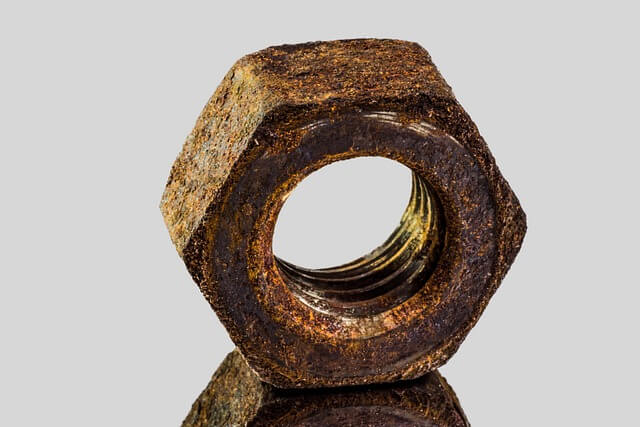
Typically, when faced with faucet issues, most people would instinctively seek the services of a plumber. However, before resorting to that, there are several approaches you can explore to remove a rusted faucet nut. In this article, we will present you 6 steps on How to Remove Rusted Nut from Kitchen Faucet.
Steps How to Remove Rusted Nut from Kitchen Faucet?
Step 1: Turn Off the Water Supply
Before you begin, make sure to turn off the water supply to your faucet. Look under the sink for the valve and turn it clockwise until the water stops running. This will prevent any water from leaking out while you work on the faucet.
Step 2: Apply Penetrating Oil
Spray a generous amount of penetrating oil onto the rusted nut. Let it sit for about 15 minutes to allow the oil to penetrate the rust and lubricate the threads. This will make it easier to turn the nut and loosen it from the faucet.
Step 3: Use a Wrench or Pliers
Use a wrench or pliers to grip the nut and try to turn it counterclockwise. If it doesn’t budge, tap it gently with a hammer to loosen it up. Be careful not to hit the faucet or any other part of the sink. If the nut still won’t turn, you may need to apply more penetrating oil and let it sit for another 15 minutes.
Step 4: Use a Socket Set
If the wrench or pliers are not able to turn the nut, you may need to use a socket set. A socket set is a tool that attaches to a ratchet and allows you to apply more torque to the nut. Choose a socket that fits snugly over the nut and attach it to the ratchet. Apply pressure in a counterclockwise direction and turn the nut.
Step 5: Apply Heat
If none of the previous steps have worked, you may need to apply heat to the nut. Use a propane torch or a heat gun to apply heat directly to the nut for about 10-15 seconds. This will cause the metal to expand and may loosen up the rusted threads. Be careful not to heat up any other parts of the faucet or sink, as this could cause damage.
Step 6: Cut the Nut
If all else fails, you may need to cut the nut off using a hacksaw or a Dremel tool. This is a last resort option and should only be done if you are comfortable using these tools. Be sure to wear protective gloves and goggles while cutting the nut, and be careful not to damage the faucet or sink.
Why is the Faucet Nut Stuck?
Initially, it is essential to comprehend the root of the problem. Faucet nuts consist of metal and are prone to oxidation due to several external factors such as temperature, humidity, and mineral deposits. Furthermore, it could be attributed to internal factors like the materials used, chemical elements, and manufacturing techniques. It is imperative to acknowledge that this issue is a common occurrence and is unlikely to affect you unless you are attempting to remove the nut.
What tools do I need to remove a stuck faucet nut?
To complete the task, you will require a basin wrench, a unique plumbing tool equipped with a lengthy handle featuring a tee at one end that provides leverage. On the opposite end, there is a spring-loaded, adjustable wrench head that secures onto the nut. The extended handle facilitates reaching behind the sink basin to access those hard-to-reach nuts.
How do you remove a broken faucet nut?
A universal faucet nut wrench, available at home improvement stores such as Lowe’s, is an alternative tool that could potentially be effective. However, if the plastic or metal faucet nut remains immovable, the experts at Home Arise suggest using a small quantity of penetrating oil. Allow a few minutes for the oil to take effect before trying to use the wrench once again.
Conclusion
Removing a rusted nut from a kitchen faucet can be a daunting task, but with these simple steps, you can tackle the problem with confidence. Remember to take your time and be patient, as rushing can lead to mistakes and damage to your faucet or sink. Good luck!
Related articles:


 Hi, my name is Debra Klein and I love modern kitchen designs! As a product reviewer, it’s my mission to help homeowners choose the right modern kitchen accessories for their homes. I want to give them the best solution possible so they can make the best decision for their needs. Thanks for reading!


