A sink stopper is a device that blocks the drain of a sink and allows you to fill it with water. Sink stoppers are useful for various purposes, such as washing dishes, soaking clothes, or shaving. However, sometimes you may need to remove the sink stopper, either to clean it, to unclog the drain, or to replace it with a new one. Removing a sink stopper is not a difficult task, but it may vary depending on the type of stopper you have. In this article, we will show you how to remove four common types of sink stoppers: pop-up, push-pull, flip-it, and toe-touch. We will also provide you with some tips and tools that you may need for the job.
Tools and Materials You May Need
To remove a sink stopper, you may need some of the following tools and materials:
- Pliers or wrench
- Screwdriver
- Absorbent cloths or towels
- Bucket or bowl
- Drain cleaning tool or opener
- Vinegar or detergent
- Pivot rod repair kit (optional)
How to Remove a Pop-Up Sink Stopper

A pop-up sink stopper is a type of stopper that is controlled by a lever or a knob on the faucet. When you pull up or push down the lever or knob, the stopper moves up or down accordingly. A pop-up sink stopper has a more complex mechanism than other types of stoppers, as it involves a clevis strap, a pivot rod, a spring clip, and a gasket. To remove a pop-up sink stopper, follow these steps:
- Step 1: Clear the area under the sink and turn off the water supply valves. You may need to remove some items from the cabinet under the sink to access the drain assembly. You may also want to place some absorbent cloths or towels under the pipes to catch any water or debris that may fall.
- Step 2: Locate the clevis strap and the pivot rod under the sink. The clevis strap is a metal strip with holes that are connected to the lift rod or knob on the faucet. The pivot rod is a metal rod that goes through one of the holes on the clevis strap and into the drain pipe. The pivot rod has a round plug or ball attached to it, which moves the stopper up or down. The pivot rod is held in place by a spring clip, which is attached to the clevis strap.
- Step 3: Remove the spring clip and the pivot rod from the clevis strap. You may need to use pliers or a wrench to loosen the nut on the side of the drain pipe that secures the pivot rod. Then, pull out the pivot rod from the drain pipe, along with the plug or ball. You may also need to remove the clevis screw that connects the clevis strap to the lift rod or knob and slide the clevis strap off the rod.
- Step 4: Pull out the stopper from the sink drain. You may need to wiggle or twist the stopper to release it from the gasket. If the stopper is stuck, you may need to use a screwdriver to pry it out. Be careful not to damage the sink or the stopper.
How to Remove a Push-Pull Sink Stopper

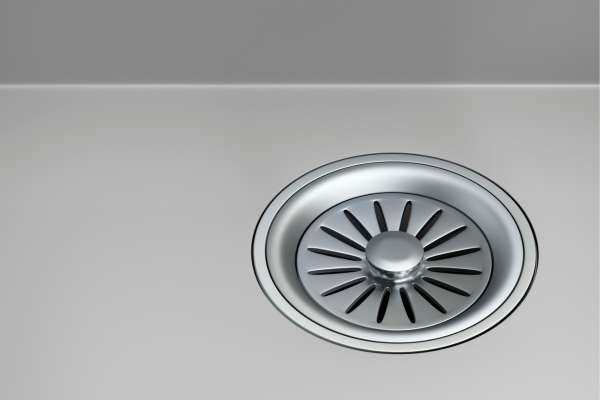
A push-pull sink stopper is a type of stopper that is operated by pushing or pulling on the top of the stopper. When you push down on the stopper, it seals the drain and prevents the water from flowing out. When you pull up on the stopper, it opens the drain and allows the water to flow out. A push-pull sink stopper has a simpler mechanism than a pop-up sink stopper, as it does not involve any rods or straps. To remove a push-pull sink stopper, follow these steps:
- Step 1: Clear the area under the sink and turn off the water supply valves. You may need to remove some items from the cabinet under the sink to access the drain assembly. You may also want to place some absorbent cloths or towels under the pipes to catch any water or debris that may fall.
- Step 2: Pull up the stopper as far as it will go. You may need to twist or turn the stopper to loosen it from the drain. If the stopper does not come out easily, you may need to unscrew the cap or nut that holds the stopper in place. You may need to use pliers or a wrench to loosen the cap or nut. Then, pull out the stopper from the drain.
- Step 3: Remove the gasket or washer from the drain. The gasket or washer is a rubber or plastic ring that seals the gap between the stopper and the drain. You may need to use a screwdriver or a knife to pry out the gasket or washer from the drain. Be careful not to damage the sink or the drain.
How to Remove a Flip-It Sink Stopper

A flip-it sink stopper is a type of stopper that is operated by flipping a lever or a switch on the top of the stopper. When you flip the lever or switch to one side, the stopper closes the drain and stops the water from flowing out. When you flip the lever or switch to the other side, the stopper opens the drain and lets the water flow out. A flip-it sink stopper has a very simple mechanism, as it does not involve any rods, straps, or nuts. To remove a flip-it sink stopper, follow these steps:
- Step 1: Flip the lever or switch on the top of the stopper to the open position. This will make the stopper easier to remove from the drain.
- Step 2: Grab the stopper and pull it out of the drain. You may need to wiggle or twist the stopper to release it from the drain. If the stopper is stuck, you may need to use a plunger or a suction cup to pull it out. Be careful not to damage the sink or the stopper.
How to Remove a Toe-Touch Sink Stopper
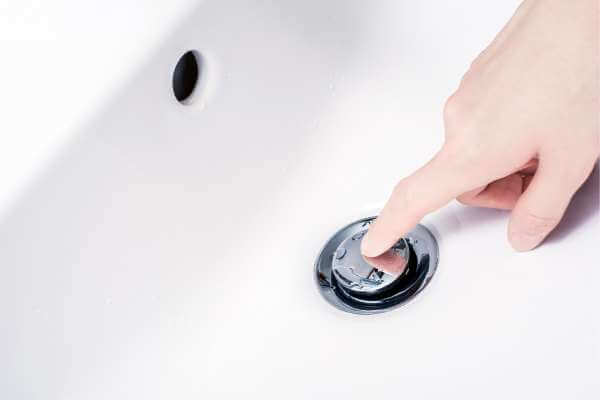
A toe-touch sink stopper is a type of stopper that is operated by pressing on the top of the stopper with your toe or finger. When you press down on the stopper, it locks the drain and blocks the water from flowing out. When you press down on the stopper again, it unlocks the drain and allows the water to flow out. A toe-touch sink stopper has a fairly simple mechanism, as it involves a spring and a rubber seal. To remove a toe-touch sink stopper, follow these steps:
- Step 1: Press down on the stopper to unlock the drain. This will make the stopper easier to remove from the drain.
- Step 2: Unscrew the stopper from the drain. You may need to use pliers or a wrench to loosen the stopper. Then, pull out the stopper from the drain.
- Step 3: Remove the spring and the rubber seal from the drain. The spring and the rubber seal are the parts that make the stopper lock and unlock the drain. You may need to use a screwdriver or a knife to pry out the spring and the rubber seal from the drain. Be careful not to damage the sink or the drain.
Tips for Cleaning and Reinstalling the Sink Stopper

After removing the sink stopper, you may want to clean it and the drain to remove any dirt, hair, or debris that may have accumulated over time. This can help prevent clogs, odors, and leaks, and improve the performance and appearance of your sink. Here are some tips for cleaning and reinstalling the sink stopper:
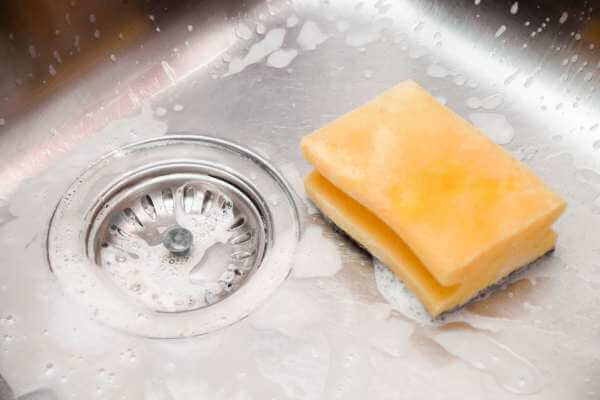
- To clean the sink stopper, you can use a drain cleaning tool or opener, such as a snake, a plunger, or a chemical cleaner. You can also use vinegar or regular detergent to remove any stains or residues. Soak the stopper in a soap and water mixture for an extended period before cleaning it with a rag.
- To clean the drain, you can use the same methods as above, or you can use baking soda and vinegar to create a natural and effective cleaner. Pour half a cup of baking soda into the drain, followed by half a cup of vinegar. Wait for 15 minutes, then flush the drain with hot water.
- To reinstall the sink stopper, you can reverse the steps for removing it, depending on the type of stopper you have. Make sure to align the stopper with the drain, and to tighten the connections securely. You may also want to apply some plumber’s putty or caulk around the base of the stopper to seal any gaps and prevent leaks. Test the stopper and the drain to make sure they work properly.
Conclusion
Removing a sink stopper is a simple and useful task that can help you clean, unclog, or replace your sink drain. Depending on the type of sink stopper you have, you may need different tools and methods to remove it. In this article, we have shown you how to remove four common types of sink stoppers: pop-up, push-pull, flip-it, and toe-touch. We have also provided you with some tips and tools that you may need for the job. By following the steps and tips in this article, you can remove a sink stopper in a few easy steps.


 Hi, my name is Debra Klein and I love modern kitchen designs! As a product reviewer, it’s my mission to help homeowners choose the right modern kitchen accessories for their homes. I want to give them the best solution possible so they can make the best decision for their needs. Thanks for reading!


