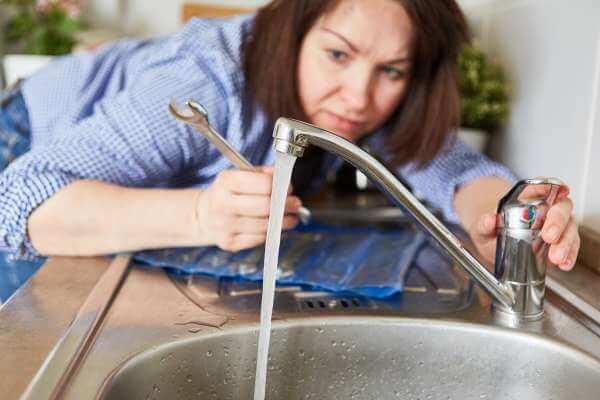
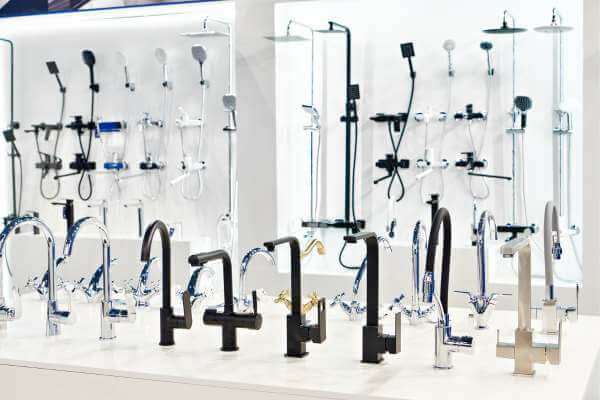
Touchless kitchen faucets are becoming more popular in modern homes, as they offer convenience, hygiene, and water conservation benefits. Touchless faucets are activated by a motion sensor that detects your hand movements and turns the water on or off accordingly. They can also save you time and money, as they reduce water waste and prevent cross-contamination. However, installing a touchless faucet can be a bit more complicated than installing a regular faucet, as it involves some additional components and connections. Therefore, it is important to have the right tools and materials for the job and to follow the manufacturer’s instructions carefully. In this article, we will list some of the essential tools for installing a touchless kitchen faucet, and provide some tips and steps on how to do it.
Tools needed to install a kitchen faucet

To install a touchless kitchen faucet, you will need the following tools and materials:
Touchless faucet kit
This is the main component of your project, and it includes the faucet, the sensor, the control box, the hoses, the mounting hardware, and the installation tool. You can choose from different models and styles of touchless faucets, depending on your preferences and budget. Make sure to read the manual and check the parts before you start the installation.
Batteries
Most touchless faucets require batteries to power the sensor and the control box. The type and number of batteries may vary depending on the faucet model, but they are usually AA or C size. You will need to insert the batteries into the control box and replace them periodically, depending on the usage and the quality of the batteries.
Drill and drill bit
You will need a drill and a 3/32 drill bit to make holes in the sink or the countertop, if there are none or if they are not compatible with the faucet. You will also need a tape measure to mark the location and size of the holes. Make sure to drill carefully and accurately, and to avoid damaging the sink or the countertop.
Screwdriver and adjustable wrench
You will need a screwdriver and an adjustable wrench to tighten the screws and nuts that secure the faucet and the hoses to the sink or the countertop. You will also need them to connect the water supply lines to the hoses and the control box. Make sure to use the right size and type of screwdriver and wrench, and to avoid overtightening or cross-threading the connections.
Plumber’s putty
You will need a plumber’s putty to seal the gaps and prevent leaks between the faucet and the sink or the countertop. Apply a thin layer of putty around the base of the faucet, and then press it firmly into place. You will also need to remove any excess putty with a damp cloth or a knife.
- Will not support bacteria
- Meets Federal Specification TT-P-1536A
- For these applications we recommend Harvey’s Siliconized Tub Seal Latex or 100% RTV Silicone
- Do not use on marble, synthetic marble, other porous surfaces or on plastic lavatories and fixtures
Tips and Steps for Installing a Touchless Kitchen Faucet
Installing a touchless kitchen faucet can be done in a few simple steps, such as:
Turn off the water supply and remove the old faucet
Before you start the installation, you need to turn off the hot and cold water supply valves under the sink, and then turn on the faucet to release any remaining water and pressure. Then, you need to disconnect the water supply lines and the hoses from the old faucet and remove the mounting hardware and the faucet from the sink or the countertop. You may need to use a screwdriver, a wrench, or a basin wrench to loosen the connections and the nuts. You may also need to scrape off any old putty or caulk with a knife or a scraper.
Drill the holes and install the faucet
Next, you need to drill the holes for the new faucet, if there are none or if they are not compatible with the faucet. You need to measure and mark the location and size of the holes, and then use a drill and a drill bit to make them. Then, you need to thread the sensor cable, the hoses, and the shank of the new faucet through the deck gasket, and align it to the bottom of the faucet body. Then, you need to insert the cable, the hoses, and the shank through the mounting hole, and secure the faucet with the mounting hardware. You may need to use a plumber’s putty, a screwdriver, and a wrench to seal and tighten the faucet.
Connect the hoses and the control box
After installing the faucet, you need to connect the hoses and the control box. You need to identify the corresponding inlets and outlets on the control box, and then connect the sensor cable, the faucet hose, and the water supply lines to the control box. You may need to use quick-connect fittings, clips, or nuts to secure the connections. Insert the batteries into the control box and mount the control box under the sink with screws or straps.
Test the faucet and check for leaks

Finally, you need to test the faucet and check for leaks. You need to turn on the water supply valves, and then turn on the faucet by waving your hand over the sensor. Check the water flow and temperature and adjust them if needed. You also need to check the connections and the hoses for any leaks and tighten them if needed. You may need to use a wrench or a pliers to fix any leaks.
Conclusion of Tools for Installing a Touchless Kitchen Faucet
Installing a touchless kitchen faucet can be a great way to upgrade your kitchen and make it more convenient, hygienic, and water-efficient. However, it can also be a bit more complicated than installing a regular faucet, as it involves some additional components and connections. Therefore, it is important to have the right tools and materials for the job and to follow the manufacturer’s instructions carefully. By following the steps and tips in this article, you can install a touchless kitchen faucet easily and successfully.


 Hi, my name is Debra Klein and I love modern kitchen designs! As a product reviewer, it’s my mission to help homeowners choose the right modern kitchen accessories for their homes. I want to give them the best solution possible so they can make the best decision for their needs. Thanks for reading!


